Project Info
Author: Chris
Difficulty: Medium
Time Invested: 3 Hours
Prerequisites:
Take a look at the above
tutorials before continuing
to read this tutorial.
Author: Chris
Difficulty: Medium
Time Invested: 3 Hours
Prerequisites:
- Wear Gloves Around The Etching Solution
Take a look at the above
tutorials before continuing
to read this tutorial.
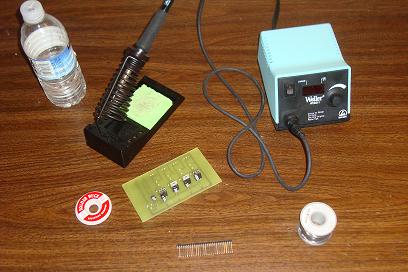
This tutorial will go through how PCB's can be etched at home using a 3-4 decade old method. Old methods are often tried and true, which means they leave little room for error as they've long been perfected. The name of this method is 'toner-transfer'. Laserjet ink will be transferred to the PCB and etched from there.
Purpose & Overview of this project
The goal of this tutorial is to teach you how to take a circuit drawn in a fabrication program like Altium or Eagle and make it a real-life PCB. To accomplish this we will need about $20-25 and a few hours of spare time.
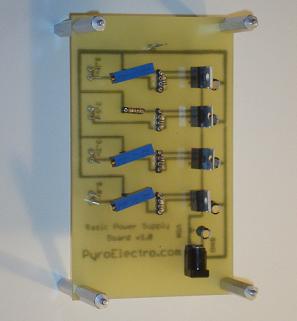
The board to be created will be a voltage regulator board, while variable supplies will be used, it will be designed for 4 different output voltages that should remain constant. +5v, +3.3v, 2.5v and 1.25v are the required output voltages from this board.